In our morgue you will pass through a set of 6 identical "slabs" (morgue tables) all complete with bodies in body bags. What you won't know is that 2 of the tables may hold live (undead?) actors.
So I have to build 6 morgue tables. 4 need only hold a lightweight prop body in a body bag; but two of them need to be sturdy enough to hold live actors.
For the lightweight tables I started with a 6'6" by 2' cut of 1/4" plywood. I built a lightweight frame of 1x3s which I assembled with the help of our brad nailer. For the curious the side 1x3s were 6'6" and the end pieces that fit between them were 22 7/8".
 |
 |
 |

|

|
 Once the frame was assembled I flipped it over (plywood on top) and nailed the top onto the frame. Then flipped back over to work on the legs
For these lightweight tables I'm using 2" PVC pipe for my legs. To mount them to the underside of the table I cut 2x4s down to 22 7/8 (to fit inside the frame) at each end and drilled a 2" hole in both ends of the 2x4 - allowing space to slide the pipe into. Now the 2" PVC pipes aren't exactly 2" wide - but I couldn't find a hole saw bit any closer than 2" so I had to make do with a slightly larger hole than the pipe...

I actually found some thick tape that I stuck inside the holes to help the pipes fit more snugly.

 Now with the lightweight tables legs inserted and flipped upright, it's time to add the finishing touches. For this we visited the local "Party Store" and picked up several silver (plastic) tablecloths and table skirts - after all we want the "slabs" to look metallic...
Here's a shot of one of the lightweight tables covered with a tablecloth (though it's not secured yet) - just to see how it looks.
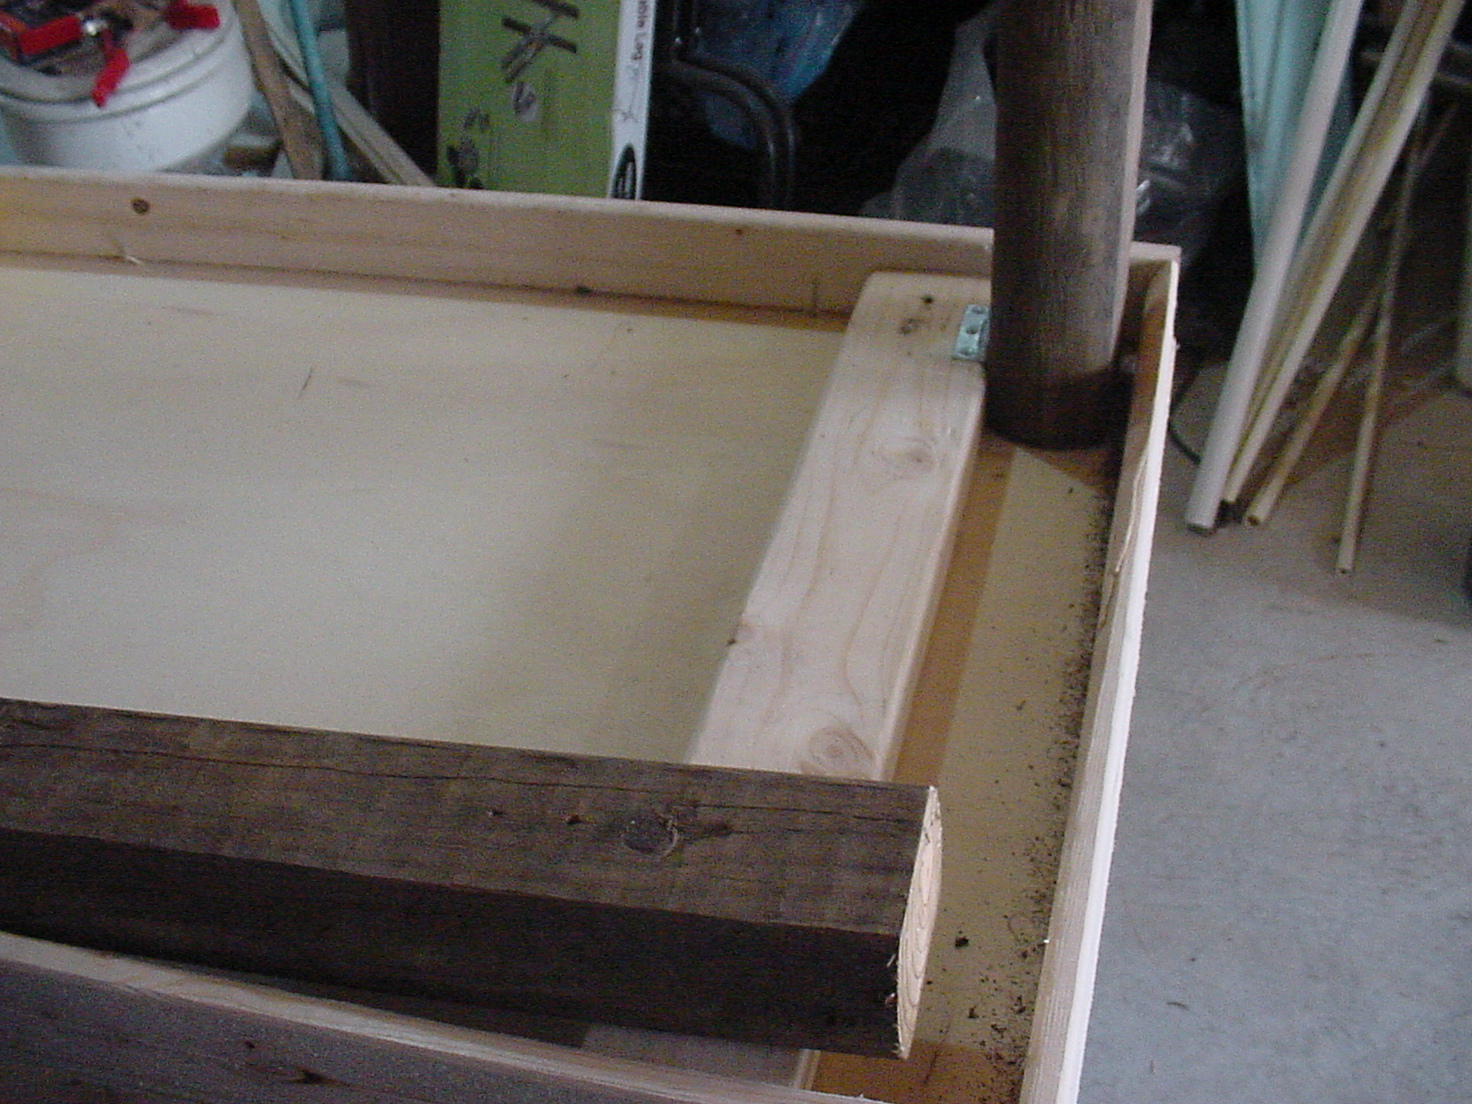
Meanwhile, I finished up the heavy tables - the ones we'll have actors laying on. They had both thicker plywood and heavy duty legs (5 per table) to ensure a stable platform. Thanks to my brother-in-law for his assistance in designing the support structure.
Being frugal (cheap) the table legs for the heavy tables are scrap landscaping timbers we had laying around. Each legs is secured to a 2x4 brace with a T-hinge plus I added 2x4 braces between the legs hung with 2x4 fence hangars.
Here's shots of the legs being fitted (before the braces were added):


And here's some shots of the assembly after the braces were added:


And finally, flipped upright before painting and finishing:


Sadly, once upright I discovered that the legs still weren't stable enough - the platform was plenty strong but there was still too much side-to-side sway... So I added a brace at each end - a 21"x24" section of 3/4" OSB that keeps the legs aligned and stable.
After a coat of paint (silver/grey) here's what they look like:


All 6 of these will fill the front porch... Where visitors will be forced to navigate between them!
No comments:
Post a Comment