Featured Post

Visit us on Facebook

Yes we finally created a Facebook page for the haunt! Visit it for updates plus photos and videos of the haunt - and helpful links to othe...

Monday, May 27, 2013

Morgue Slabs

So this year we're going over-the-top and more than a little gory. Among other new attractions is the morgue on the front porch - the last area you will pass through on the way out of the haunt.

In our morgue you will pass through a set of 6 identical "slabs" (morgue tables) all complete with bodies in body bags. What you won't know is that 2 of the tables may hold live (undead?) actors.

So I have to build 6 morgue tables. 4 need only hold a lightweight prop body in a body bag; but two of them need to be sturdy enough to hold live actors.

For the lightweight tables I started with a 6'6" by 2' cut of 1/4" plywood. I built a lightweight frame of 1x3s which I assembled with the help of our brad nailer. For the curious the side 1x3s were 6'6" and the end pieces that fit between them were 22 7/8".


Once the frame was assembled I flipped it over (plywood on top) and nailed the top onto the frame. Then flipped back over to work on the legs

For these lightweight tables I'm using 2" PVC pipe for my legs. To mount them to the underside of the table I cut 2x4s down to 22 7/8 (to fit inside the frame) at each end and drilled a 2" hole in both ends of the 2x4 - allowing space to slide the pipe into. Now the 2" PVC pipes aren't exactly 2" wide - but I couldn't find a hole saw bit any closer than 2" so I had to make do with a slightly larger hole than the pipe...


I actually found some thick tape that I stuck inside the holes to help the pipes fit more snugly.

Saturday, May 18, 2013

Halloween shopping...

So we didn't find much worth buying at the National Haunters Convention, but I did catch a sale on costumes that was posted on Facebook a couple weeks ago!

For the most part the cheapo costumes you can buy in stores or online aren't usable out-of-the-box in a serious haunt, but with some touch-ups - or for use on a prop - they do nicely.

Even the cheap costumes these days seem to sell for $40-$60 though, so the clearance sale announced on Facebook caught my eye - most costumes were $10! 

Not being interested in superhero costumes, the few they had that fit with our haunt theme weren't available in many sizes - or were sold out before I could place my order - but I still managed to pick a few that we'll be able to use; 4 costumes and a small accessory all for a grand total of $50! I'll take it!

This year we have 4 areas we're "shopping" for;

  • The "Hospital" (in the carport); featuring lots of blood (a new thing for us), the mad doc and some zombie-fied patients
  • The "Morgue" (on the front porch)
  • The "Toxic Area" (out back) where new zombies are created and old ones come to feed...
  • The "Mine Shaft" (out back) which we started last year but which doubles in size this year - and will add space for 2-3 actors
So of the costumes I picked up; the doc and the zombie doc will be utilized in the hospital; the hazmat guy will find a spot (probably on a prop) in the Toxic area; and the scarecrow guy - well I thought it was just kind of cool and figure we'll dress up a prop in the woods in that outfit.

Up next; building on the morgue tables and a Hollywood-Haunters style ankle tickler...

Sunday, May 12, 2013

National Haunters Convention 2012

This year marked our 6th year in a row attending the National Haunters Convention in Pennsylvania.

The pre-show haunt tour Friday night to Shocktoberfest was amazing - and not just because of the open bar and good food
. 3 attractions; the Unknown, the Prison of the Dead, and their Haunted Hayride - all opened up just for us and fully staffed with an amazing crew of actors in haunts so detailed I wished we had gotten a lights-on tour as well.

The Unknown did some really cool 3D video effects synchronized to pneumatic and other special effects in the haunt. The Prison was a trek through a custom built facility; starting from the main entrance, through the registration areas, into the cell blocks, then finally escaping through the sewer system (a maze of 4 foot diameter corrugated steel pipes you had to crawl through in complete darkness!).

Back at the convention itself attendance was up from last year, but there weren't very many quality vendors. We arrived with a page-long shopping list for our haunt, but only managed to find a handful of items worth buying. We also usually hold off on most of our shopping until Sunday afternoon when many vendors traditionally marked things down to their lowest prices before everyone leaves. No such bargains this year though; almost no one was running discounts.

The course schedule was sparse this year; sadly none we were interested in attending.


We did get two cans of "Great Stuff" (one per attendee) for registering - we'll make good use of those:

There was one vendor there with masks we really liked - "Lot 27"; unique, very creepy, well done, and reasonably priced. We bought one of their masks on the spot as we were walking by on Saturday - then came back on Sunday and picked up another one:


Catherine (aka "Scaredy Cat") did finally take the plunge and picked up some creepy contact lenses; a purple-ish reptile/cat eye looking set that I'm sure will freak out our victims this year! With I could locate the vendor's name - she was very helpful and friendly- and had been at NHC before. When I find their name I'll post it in the comments...

Finally, since (for the first time ever) we've decided to "gore things up" this year, we picked up some blood! A gallon of special effects blood (dries "wet" looking) and a bottle of edible (?) blood that our actors can let drip out of their mouths:


I think it's gonna be a good '13 for haunting.

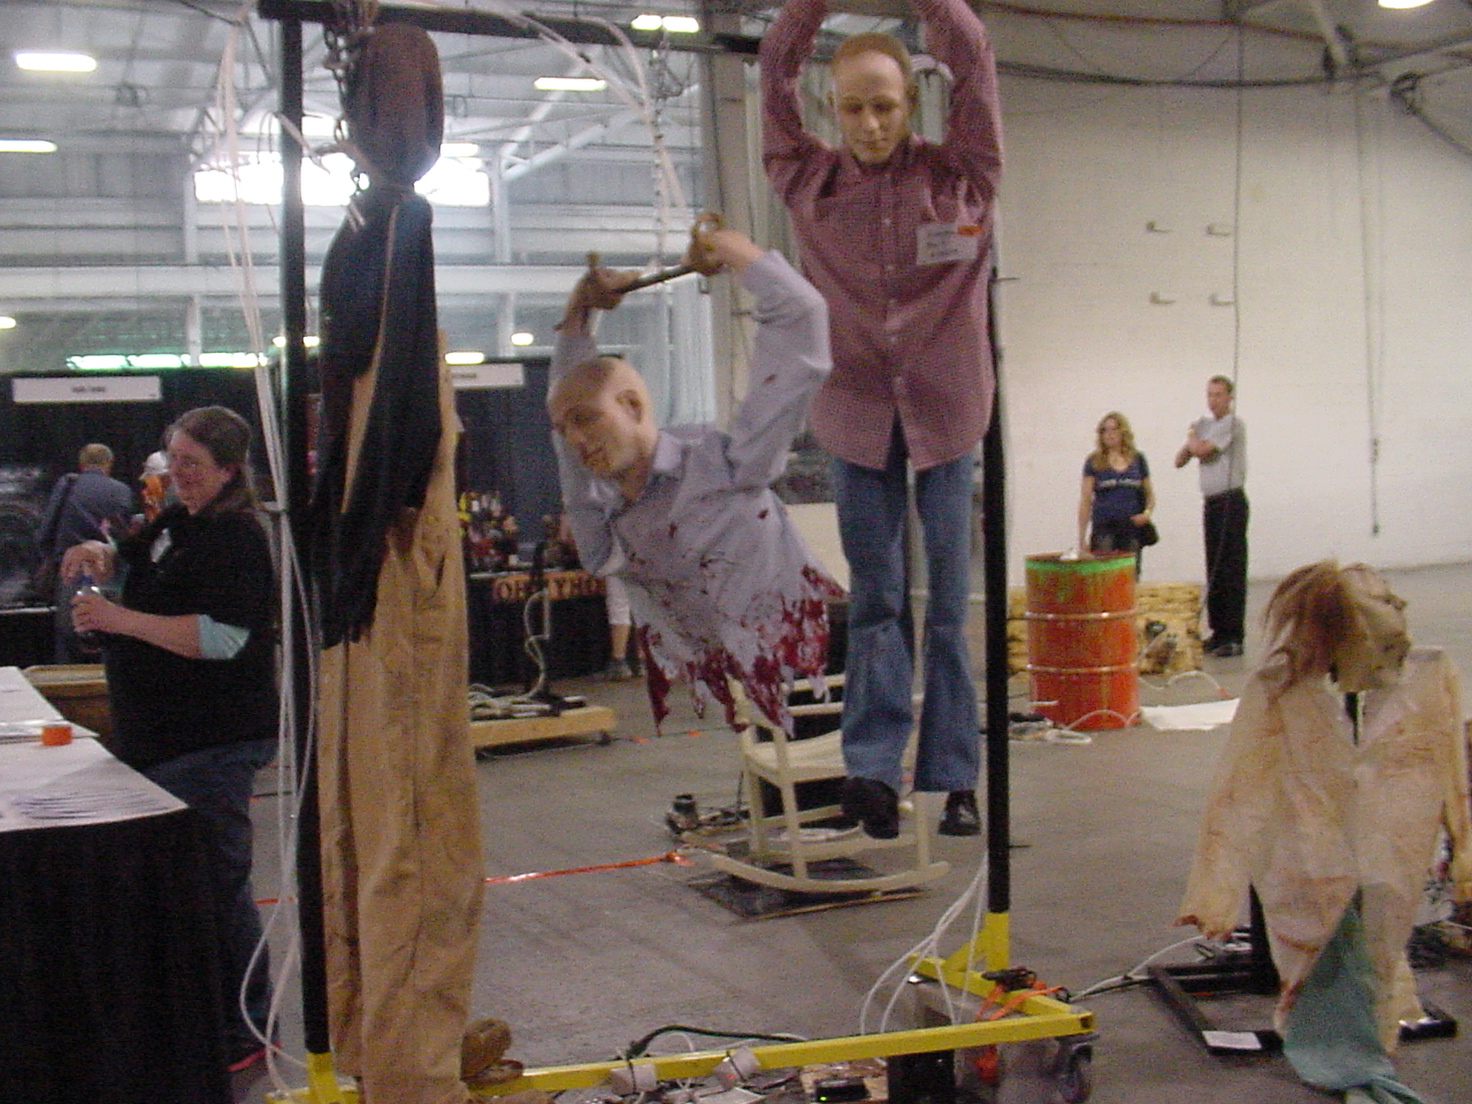
Some more pics from the show:


Monday, April 29, 2013

12 washers. And two trips to HD in one day.

But it's done!

Got the final two wall panels cut, painted, and bolted together this weekend.

After all the weeks of setup and planning, I was short 12 washers come Sunday evening as I was trying to secure the last two panels. I had already been to Home Depot earlier that day (for non haunt related items) and it was a zoo. Luckily what I needed this time would fit on the bike, and getting in and out on the motorcycle was much quicker. $5 for the washers and a few extra bolts and we were back in action.

Due to the access opening i was planning to make in one of the panels - where I plan to hang black weed-cloth (to hide the opening) I decided that the panels needed to be a little darker to blend in better. Some not-so-much watered down black paint on the new panels and some touch ups on the other panels gave me a much better blended passageway. I also took the opportunity to paint the drop-panel and surrounding area so the panel is much less visible - and should be completely invisible in the darkness of the mine shaft.

After securing the last two panels, I marked and cut out a hole about 3' by 3' at the bottom of one of the panels. This will be covered by black weed-cloth (which we have plenty of about) and will serve as both an access point for the actor(s) to get in and out of the hidden passage; as well as a below-the-waist level scare point for actors to shock passers-by. In addition - next year when we put the passage way INSIDE a haunted house, the below-the-waist opening will get disguised as a fireplace.

Some shots of the drop panel - now painted to blend in:


And some photos of the outside of the passage:


And from the inside:

And finally the new below-the-waist access passage: 

 Now... Time to tear it down and store it till I'm ready to put it up outside!!!

And onto the NEXT project!!!

But FIRST... Off to the National Haunters Convention this weekend!
 

Tuesday, April 23, 2013

Getting the DROP on the TOTs

Made some good progress over the weekend!

Most of the wall panels are attached to the PVC pipe frame... AND I built and installed (my first) drop panel window in one of the walls!

Overall I'm quite happy and impressed with the PVC frame; it's proving to be quite sturdy and easy to work with - and knowing it will never rust or warp is a big plus. Here's one side with most of the walls attached (all bolted for easy assembly/disassembly):

 Of course, since I'm assembling all this in my basement - as soon as I get it all put together I need to take it apart so I can get it outside into the back yard where it will be setup.

 I made the drop panel out of 2x3 on 3 sides with a 2x4 at the top. The actual panel is a piece of 3/4" plywood - the 1/4" panels I'm using for the walls just wouldn't hold up - nor would it be heavy enough to crash down with any kind of satisfying (and shocking) THUD. I used a couple 1x2s inside the 2x3s to form the guide that holds the drop panel in place against the wall - giving it just enough room for the panel to move freely up and down. A simple bolt lock allows me to secure the panel in its "up" position, and a handle on the back of the panel will make it easy for our actors to lift it into position after a good scare. I also painted all the inside edges and corners black. Here's a picture of the panel assembled before I mounted it:


 The panel itself measures 20" wide by 18" tall - and allowing for the panel to completely drop below the opening I made the overall frame 20" wide by 36" tall. One of the considerations in picking the size was that it had to be large enough for an actor to stick his/her head through - or at least a couple arms. Also, since next year I plan on flipping the drop panel to the OTHER side of the wall (where the WHITE side is on the outside when we use the passage in a haunted house next year) I needed to make the opening a fairly standard size - hoping that I can find an appropriate sized picture frame to cover the other side next year.

 Finally, here's the hole I cut in the panel. I cut the hole 1" smaller in each direction than the actual panel (so the hole was 17" x 19") to allow for a little overlap - which of course helps hold the panel inside the wall.

 And here are some shots of the panel mechanism from the inside after I screwed it to the wall;


And from the outside (still need to paint/age the drop panel):


 Boo!!!